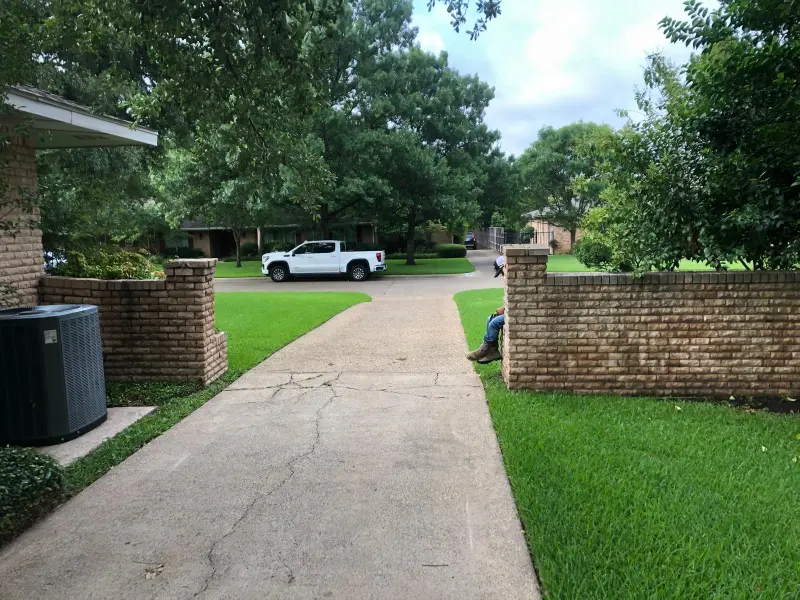
Planning to install a new entrance to your home? Driveway construction is a big project that needs careful planning. You’ve got several options to consider. Whether you’re looking at gravel, asphalt, or concrete, each material has its own benefits. The right choice depends on your budget, climate, and personal preferences. In this guide, we’ll walk through the basics of preparing the site, selecting materials, and ensuring proper installation.
Driveway Construction Basics: Excavation and Drainage
First things first – good preparation is key to any successful driveway construction project. Before laying down any material, you need to excavate the area properly. This means removing grass, topsoil, and debris to reach stable ground. Aim for at least 8-12 inches of depth for your base layers.
Drainage is absolutely crucial. Water pooling can ruin even the best-built entrance ways. Make sure the final grade slopes away from your home. Many pros install a drainage system with pipes and gravel to direct water away. Remember, proper drainage prevents cracking, potholes, and erosion that can shorten the life of your investment.
The subgrade (native soil) needs to be firm and stable. If your soil conditions are poor, you might need extra reinforcement. A plate compactor helps create a solid foundation by compressing the earth. Trust me, skipping this step will cost you later!
Gravel Driveway Construction: Budget-Friendly Option
Looking for an affordable option? Professional driveway construction often starts with gravel. It’s typically the least expensive choice and can be installed fairly quickly. The process starts with laying a geotextile fabric to prevent weeds and separate the gravel from the soil below.
Next comes the fun part – adding layers of different-sized stones:
- Base layer: Large crushed stones (2-3 inches)
- Middle layer: Medium-sized gravel (1-2 inches)
- Top layer: Fine gravel or decorative stones (3/4 inch or smaller)
- Edge material: Slightly larger stones to help with containment
- Finish layer: Fine material for a smooth surface
Each layer needs good compaction before adding the next. The finished surface should be 4-6 inches above your base. While gravel is budget-friendly, keep in mind it requires regular maintenance. You’ll need to add new material every few years and level it occasionally. But many homeowners love how it naturally fits with the landscape.
Asphalt vs. Concrete Driveway Installation
Trying to decide between asphalt and concrete? Both are popular options for driveway construction, but they differ in several ways.
An asphalt driveway offers a smooth, black finish that’s flexible in cold climates. It’s generally less expensive than concrete and can be used within hours after installation. The downside? It needs resealing every few years and might soften slightly in extreme heat.
Concrete provides a rigid, light-colored surface that reflects heat. It typically lasts longer and requires less maintenance. The initial cost is higher, but many folks appreciate its clean look. Plus, you can customize it with colors or patterns to enhance your home’s curb appeal. Quality compact driveway construction with concrete can last decades with proper care.
Proper Reinforcement for Concrete Driveways
For a concrete slab that will truly last, proper reinforcement is essential. Rebar (reinforcing steel bars) adds significant strength and helps prevent cracking. The rebar should be placed in a grid pattern with proper spacing – typically 12-18 inches apart.
The edge of your concrete deserves special attention too. Thickened edges provide extra support where it’s needed most. Your concrete should be at least 4 inches thick throughout, with 6 inches at the edges. A professional long-lasting driveway construction company will know exactly how to place the rebar for optimal strength.
Building a Driveway Surface Built to Last
Want your entrance to stand the test of time? Proper new driveway construction is all about quality materials and correct installation. For any type of surface, a properly prepared base is non-negotiable. This means thorough compaction and adequate depth for your climate and soil type.
Professional installation often pays for itself. Experienced contractors understand the nuances of mixing, pouring, and finishing that DIYers might miss. They have access to commercial-grade

FAQ
How much does each type of driveway cost per square foot?
Gravel is the most affordable at $1-3 per square foot. Asphalt typically runs $7-13 per square foot for quality installation. Concrete is the premium option at $8-18 per square foot, with decorative finishes pushing costs higher. Remember, these prices include proper base preparation and installation.
Can I install a driveway myself to save money?
DIY is possible for gravel driveways with proper equipment rental. However, asphalt and concrete require specialized skills and equipment for proper installation. The savings rarely outweigh the risks of improper installation, which can lead to premature failure and costly repairs down the road.
How long should I wait before using my newly installed driveway?
For gravel, you can use it immediately after compaction. With asphalt, wait 24-48 hours before driving on it and 6 months before applying sealant. Concrete requires 7 days before light vehicle use and 28 days to reach full strength. Patience pays off!
