
2026 Guide to Installing a Chain Link Gate
So you need to install a new gate for your property. We get it – you want something sturdy, affordable, and not too complicated to set up. Chain link gates are perfect for residential and commercial properties alike. They’re durable, cost-effective, and surprisingly straightforward to install if you know what you’re doing. Whether you’re securing a backyard, adding pedestrian access, or creating an entry point for your business, this guide walks you through everything you need to know. We’ll cover the tools you need, the different types available, and the step-by-step process to get your new system up and running correctly.
What You Need Before Installing Your Chain Link Gate
Before you start any installation, gather your tools and materials. You’ll need a post hole digger, a level, a measuring tape, and a wrench set. Don’t forget the concrete mix for securing posts. Most residential installations use a basic chain link gate kit that includes the frame, hinges, and latch hardware. The fence fabric itself usually comes separately.
Make sure you check local building codes before starting. Some areas require permits for fence installations, especially for commercial properties. You’ll also want to call 811 to mark underground utilities. Hitting a buried line during installation creates expensive headaches. Trust us, taking these precautions saves time and money down the road.
Choosing Between Swing and Roll Gates
Your property layout determines which chain link gate style works best. Swing chain link gates are the most common for residential applications. They operate like a door, opening inward or outward on hinges. Roll gates slide along a track parallel to your fence line. They’re perfect when you don’t have clearance space for a swinging one.
Cantilevers are another option for larger openings. These slide open without touching the ground, making them ideal for driveways with slopes. They cost more upfront but require less maintenance. For commercial properties with heavy traffic, roll gates or cantilever options often make more sense than traditional swing styles.
Walk Gates vs Double Swing Gate Options
Walk gates handle pedestrian traffic beautifully. They’re typically 3-4 feet wide and perfect for backyard access. Single-swing designs work well for most residential needs. Installation is straightforward since you’re only dealing with one moving panel. The hardware stays simple with just two hinges and one latch.
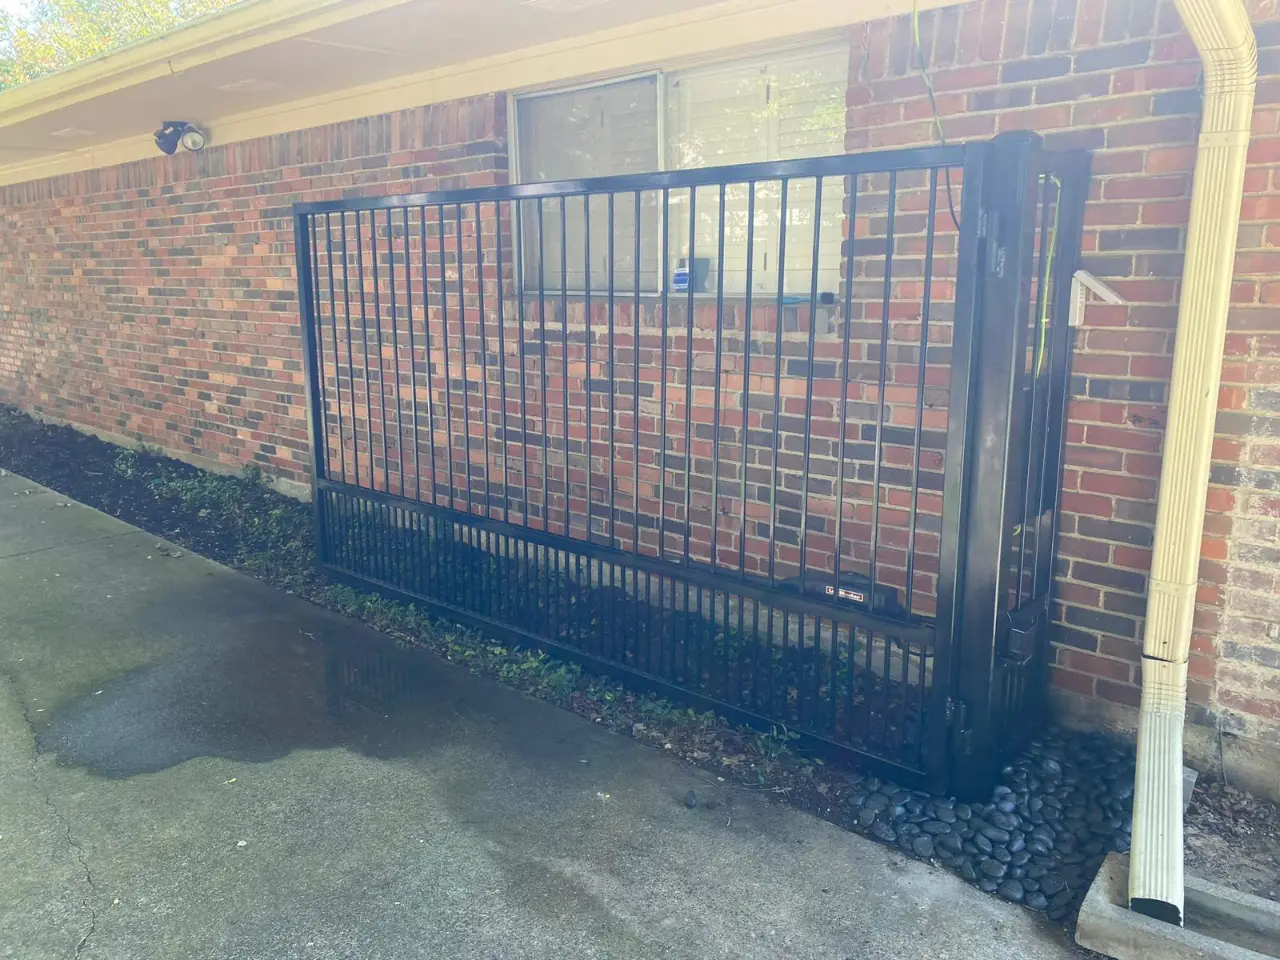
Double swing gate setups work better for wider openings. You’ll see these on driveways or commercial entrances that need vehicle access. Each panel swings independently, spreading the load across four posts instead of two. This design handles heavy use better and lasts longer. Black chain link options give these chain link gates a modern look while maintaining security.
Measuring and Preparing Your Chain Link Gate Installation
Accurate measurements make or break your installation. Measure the opening width between posts three times. Write down each measurement and use the smallest one. Chain link gates need about 2 inches of clearance on each side to swing freely. If your opening is 48 inches wide, order a 44-inch chain link gate.
Check the ground level where your system will swing. Uneven terrain causes binding and stress on hinges. You might need to grade the area or adjust your installation height. Mark your post locations clearly with spray paint or stakes. Double-check these marks before digging. Moving a post after concrete sets is nobody’s idea of a good time.
Understanding Pipe Specifications and Aluminum Options
Gate frames typically use steel pipe in various diameters. Residential chain-link gates usually require 1-3/8-inch or 1-5/8-inch pipe. Commercial applications require heavier pipe, sometimes up to 2 inches. The pipe wall thickness matters too. Schedule 40 pipe offers good strength for most applications without breaking the budget.
Aluminum frames weigh less than steel and naturally resist rust. They’re perfect for coastal areas where salt air causes corrosion. However, steel provides more strength for heavy-duty applications. Most specification sheets detail the pipe size and gauge you need. Follow these recommendations closely. Using undersized materials results in sagging chain-link gates and frustrated customers.
Installing Steel Posts and Gate Frame
Dig your post holes at least 30 inches deep. Deeper is better in frost-prone areas. The hole should be three times as wide as your post diameter. Set your hinge post first, making sure it’s perfectly plumb in all directions. Use a quality level – this step determines how well your chain link gate operates.
Pour concrete around the post and tamp it firmly to remove air pockets. Let the concrete cure for at least 24 hours before hanging your gate. The latch post goes in next, positioned exactly where your gate will close. Some installers prefer setting both posts at once. Either way works fine as long as you maintain proper spacing and alignment throughout the process.
Attaching the Chain Link Fabric
Once your posts are set, it’s time to attach the link fabric to your chain link gate frame. Stretch the fabric tight across the frame opening. Use tension bars woven through the fabric on each end. These bars slide into brackets on your frame and distribute stress evenly across the mesh.
Secure the fabric with hog rings or tie wires at 12-inch intervals along the frame. Work from top to bottom, maintaining even tension as you go. Here’s your quick checklist for this step:
- Start at one corner and work systematically
- Keep fabric pulled tight to prevent sagging
- Space fasteners evenly for the best appearance
- Trim excess fabric with bolt cutters
- Check for any sharp edges that need filing
The fabric should have minimal give when you push on it. Loose fabric looks sloppy and doesn’t provide proper security. Take your time with this step. A well-attached fabric separates professional-looking installations from amateur work.
Hardware Installation and Final Adjustments
Mount your hinges to the gate frame first, then attach them to the hinge post. Most chain-link gates use two hinges, though heavier models may need three. Tighten all bolts securely, but don’t overtighten. Stripped threads cause major headaches during future adjustments.
Install your latch on the closing end of the thing. Make sure it aligns properly with the catch on your latch post. Test the chain link gate operation multiple times. It should swing freely without dragging or binding. Adjust the hinges slightly if needed to achieve smooth operation. Add a cane bolt at the bottom if your system tends to sag or if you want extra security.
When to Call a Pro for Your Chain Link Gate Project
Some installations require professional help. Large double swing gates with complex hardware setups can challenge even experienced DIYers. Cantilever gates need precise engineering and specialized equipment. If you’re installing multiple gates or dealing with rugged terrain, professional installation makes sense.
Commercial projects almost always benefit from expert installation. The liability and longevity requirements justify the investment. Pros also carry insurance that protects you if something goes wrong. They complete work faster and guarantee their results. For residential projects, DIY installation works excellently if you’re handy and have the right tools. Complex commercial applications deserve professional expertise every time.
Frequently Asked Questions
How long does it take to install a chain link gate by yourself?
A simple walk gate installation typically takes 4-6 hours, including post setting and concrete cure time. More complex setups, such as double-swing gates or cantilever systems, can take a full day or more. Your experience level and site conditions significantly impact timing. Always allow extra time for unexpected challenges.
What's the difference between galvanized and black chain link for gates?
Galvanized chain link has a silver zinc coating that resists rust naturally. Black chain link features a vinyl or powder coat finish over galvanized wire. The black finish costs more but looks cleaner and more modern. Both options last for decades when properly maintained. Choose based on your aesthetic preferences and budget.
Can I install a chain link gate on a slope?
Yes, but it requires special considerations. The gate frame should follow the slope angle to avoid gaps at the bottom. You might need custom fabrication for steep slopes. Alternatively, grade the area flat where the gate swings. Small slopes of less than 6 inches usually don’t require significant adjustments to standard gate designs.
How do I prevent my chain link gate from sagging over time?
Proper post-installation is crucial. Posts must be deep enough and set in concrete. Use a pipe sized appropriately for your gate width. Adding a diagonal brace from the bottom hinge corner to the opposite top corner helps significantly. Regular maintenance and hardware checks every few months catch minor issues before they become problems.